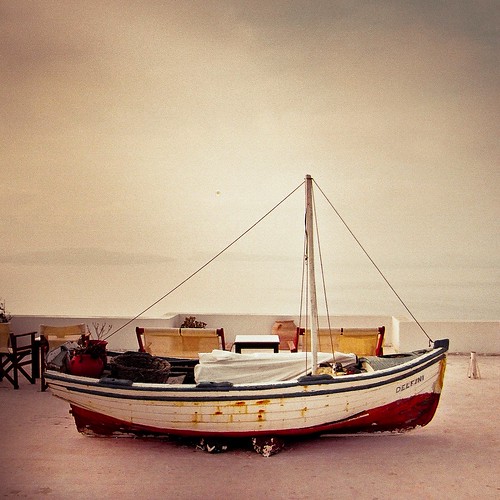
CLICK HERE to learn more about Adobe Lightroom. To learn more about how I process images check out my Lightroom Tutorial and Lightroom Presets. Lightroom Colour Grading: Beach Van, originally uploaded by cubagallery.


 CLICK HERE to learn more about Adobe Lightroom. To learn more about how I process images check out my Lightroom Tutorial and Lightroom Presets.
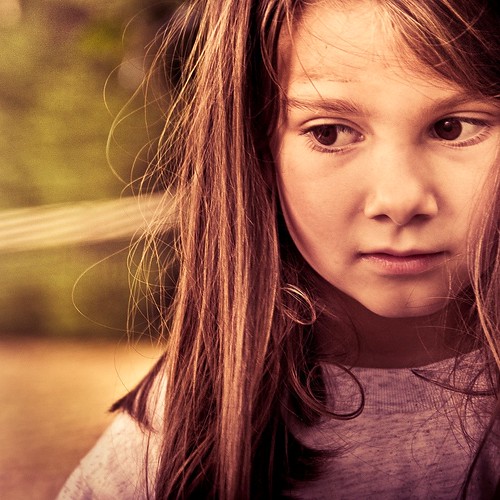
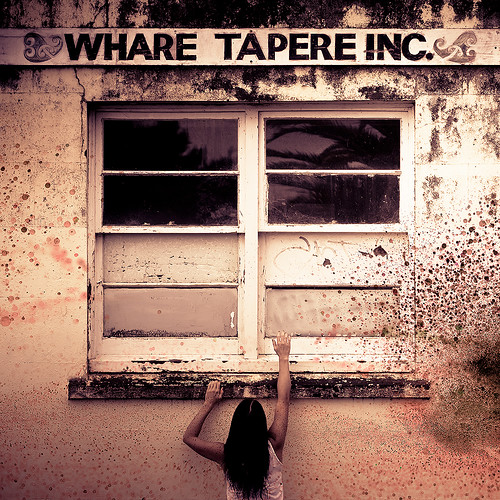
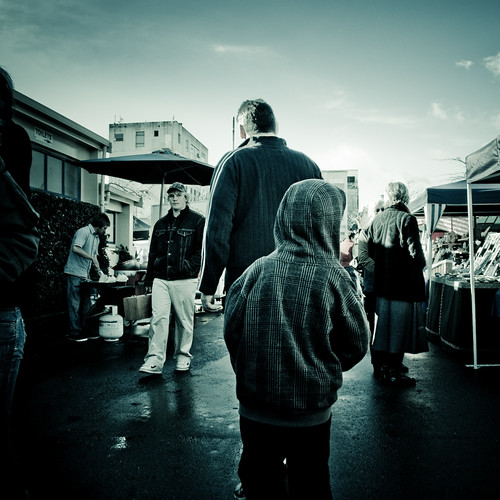
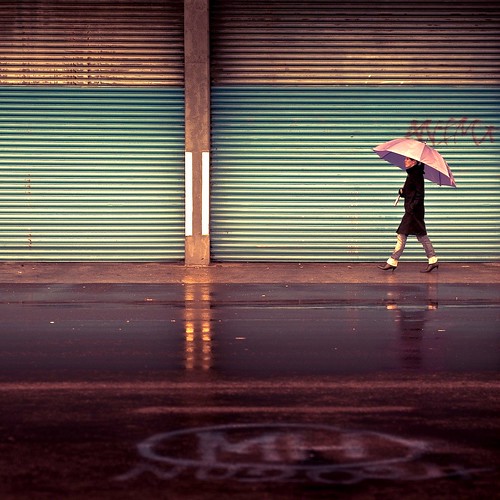
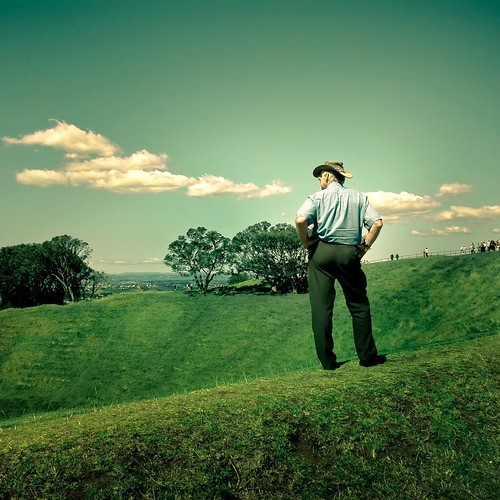
I do love this shot, I thought I would share the results with everyone as it illustrates the way I work. In this case I started with the Rose Vogue preset and then went on to brush in colour and highlights in Lightroom. I was pleased!