Showing posts with label Lightroom presets. Show all posts

Saturday, May 27, 2017

Lightroom Tutorial Basic Editing

Lightroom Tutorial | Basic Processing Tips & Tricks


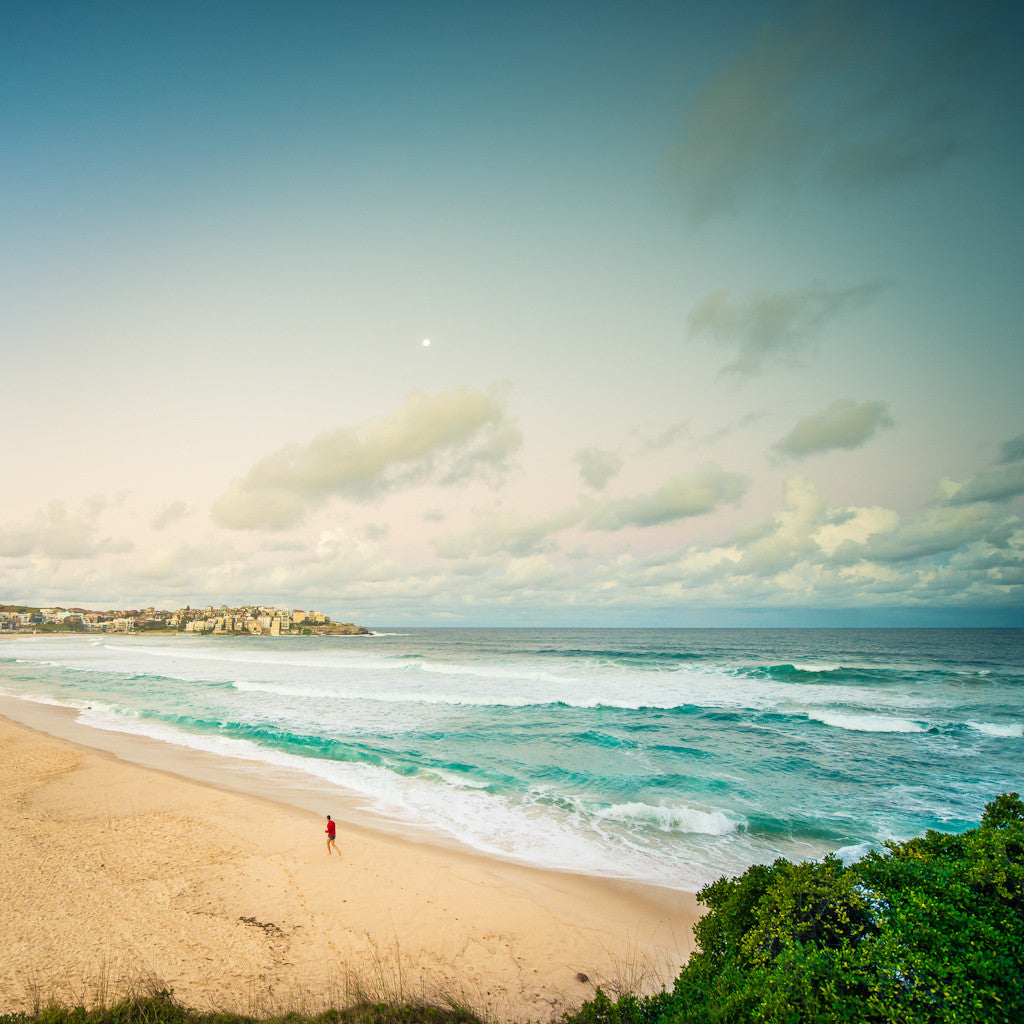
Basic steps to editing this image in Lightroom.
  1. Define the square crop
  2. Increase vibrancy and saturation subtly
  3. Add cool blue tones to both shadows and highlights
    using the split tone palette
  4. Add light with a central radial gradient filter, also
    add a small amount of clarity to this filter.
  5. Darken the sky with a vertical gradient filter
  6. Add blue tones to the vertical gradient filter to help match the sky with the rest of the image.


Thursday, April 27, 2017

10 Incredible Travel Photography Locations

I’ve been lucky enough to travel to some of the best photography locations in the world. This post is dedicated to the ones that stopped me in my tracks.

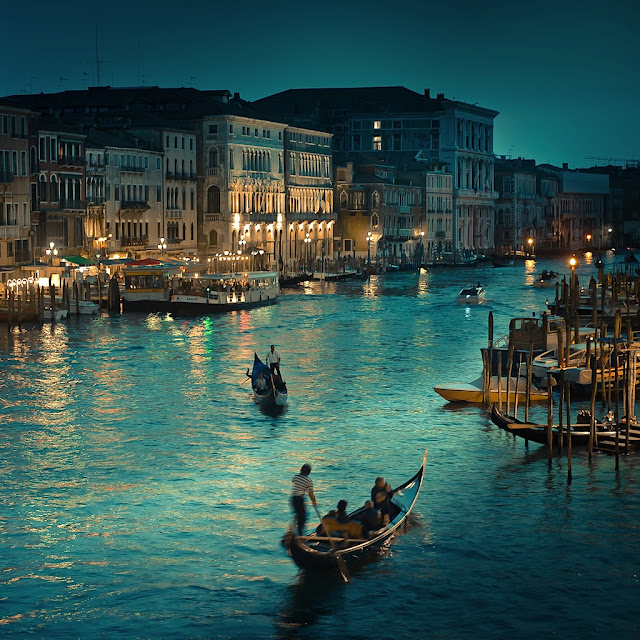
Incredible travel photography locations1. 1. Venice, Italy

Cuba Gallery Lightroom Travel Photography2. Bondi Beach, Australia

Cuba Gallery Lightroom Travel Photography3. Santorini, Greece

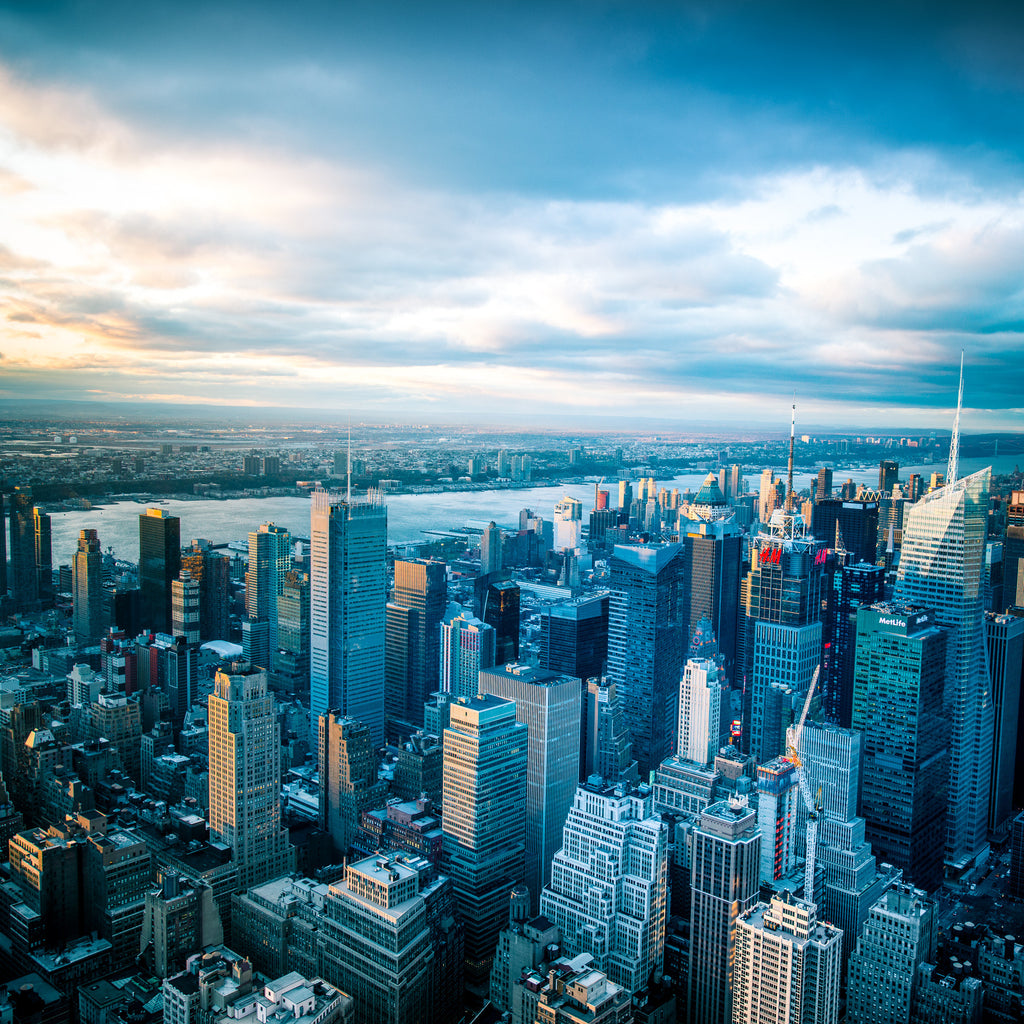
Cuba Gallery Lightroom Travel Photography4. Manhattan, New York

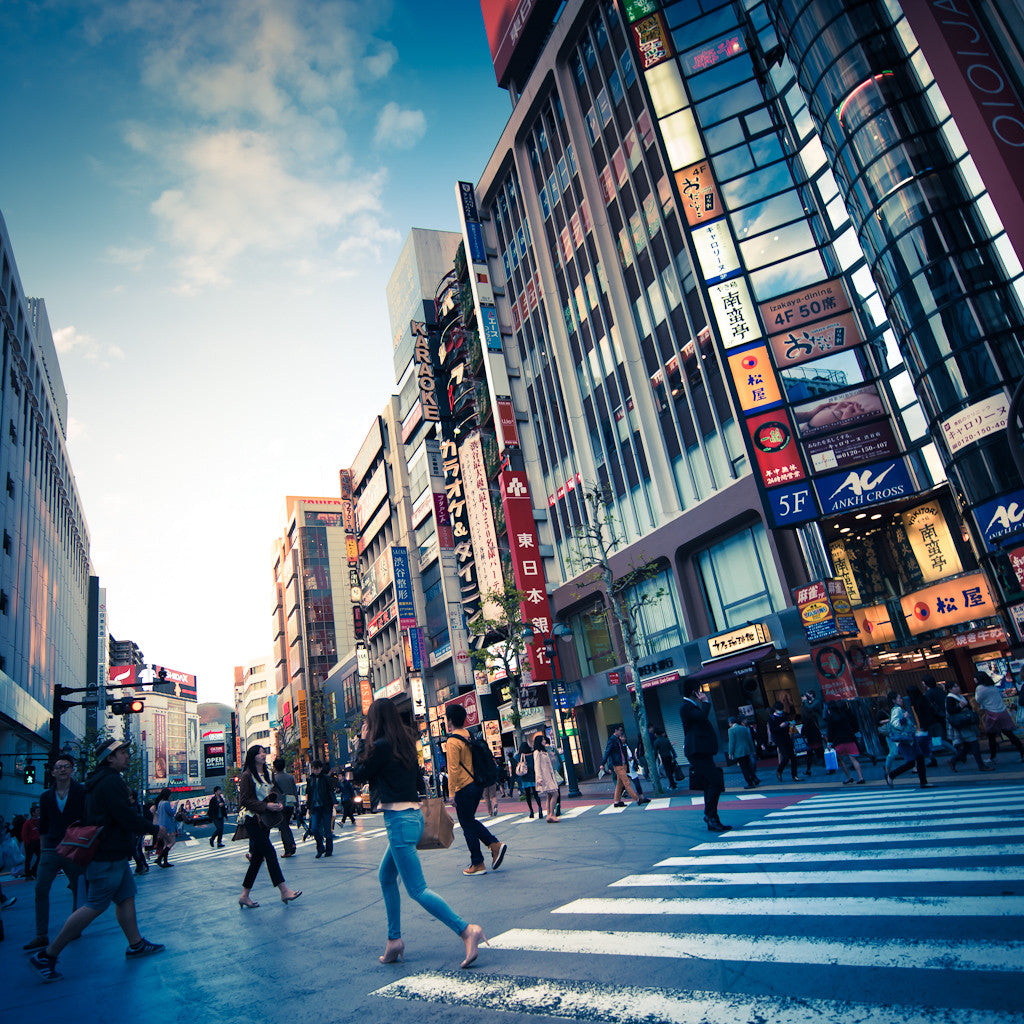
Cuba Gallery Lightroom Travel Photography5. Tokyo, Japan

Cuba Gallery Lightroom Travel Photography6. Lake Como, Italy

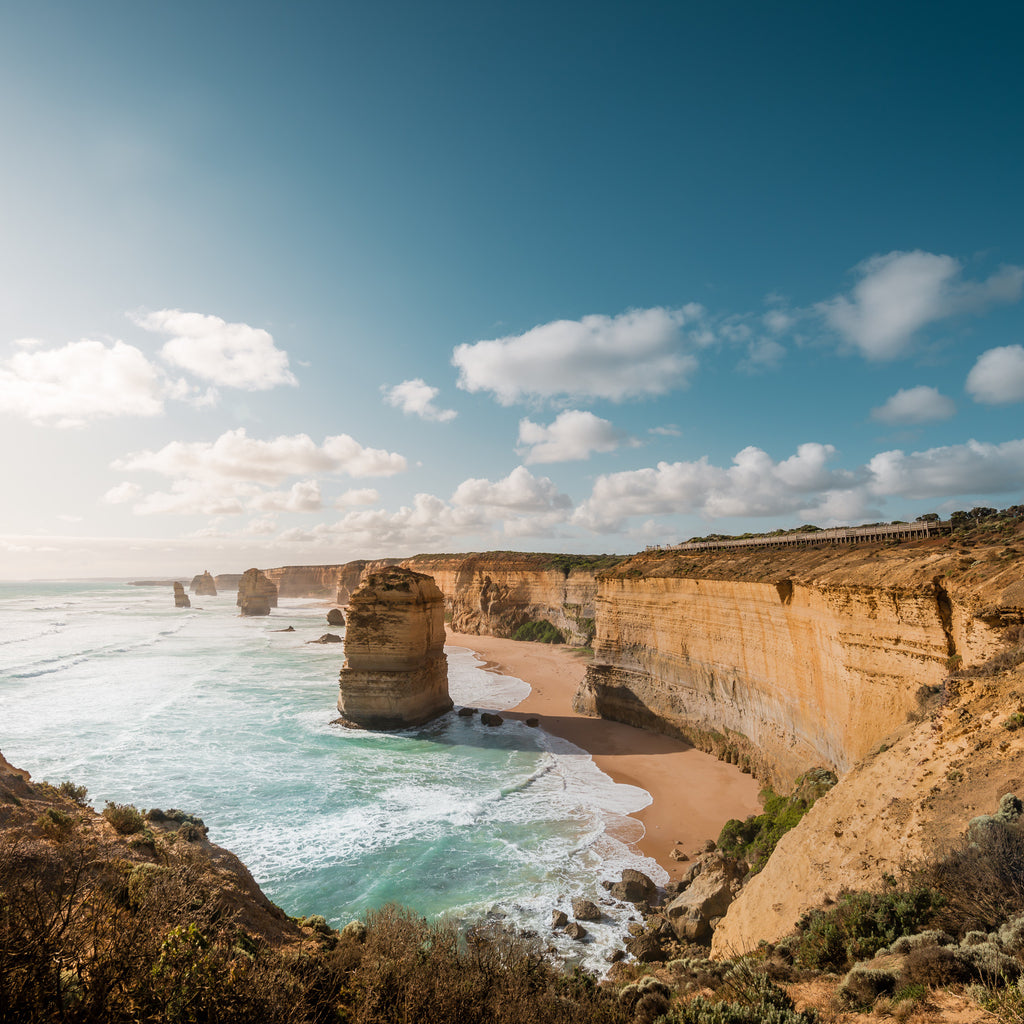
Cuba Gallery Lightroom Travel Photography7. Great Ocean Road, Australia

Incredible travel photography locations8. Queenstown, New Zealand

Incredible travel photography locations9. Muriwai, New Zealand

Cuba Gallery Lightroom Travel Photography
10. Rarotonga, Cook Islands

I shoot all my images on a Nikon 800 and process them in Lightroom. For those wishing to purchase my Lightroom presets click the button below. More from Cuba Gallery

Installing Lightroom CC Presets

Installing your Presets is easy. I’ve listed the steps listed below. If you have purchased the Cuba Gallery Lightroom Preset Pack these instructions will also be included in your digital download.
  1. First download the presets and unzip the files. Open either Lightroom 5, Lightroom 6 or Lightroom CC.
  2. For Apple Mac users click on ‘Lightroom’ in the top menu, then select ‘Preferences’ from the drop down menu. For PC users click on ‘Edit’ in the menu and select ‘Preferences’. On the Preferences screen there will be six tabs at the top, click on the tab that says ‘Presets’. Now click on the button that says ‘Show Lightroom Presets Folder'.
  3. In this window double click on the ‘Lightroom’ folder, then double click on the ‘Develop Presets’ folder. You can now copy your presets into the ‘Develop Presets’ folder. Finally restart Lightroom and the new presets will appear in ‘Develop’ mode in the left hand panel.


Tuesday, April 18, 2017

Lightroom Presets for iPhones: Posting on Instagram

Mobile lightroom presets and filters. Learn how to sync presets to lightroom mobile


There is a fantastically simple trick to using Cuba Gallery Presets in Lightroom Mobile.
Here are a few simple steps:

1. Create a collection of images with your favourite presets applied in the standard desktop version of Lightroom.
2. Using Adobe Creative Cloud sync images and collections between the desktop and mobile versions. 
3. Once you’ve synced up the images from your desktop you can copy and paste image settings onto new images
4. Now you can start posting on Instagram from your phone using Lightroom.

Mobile lightroom presets and filters. Learn how to sync presets to lightroom mobile
 Mobile lightroom presets and filters. Learn how to sync presets to lightroom mobileMobile lightroom presets and filters. Learn how to sync presets to lightroom mobile

Saturday, April 15, 2017

Trialling my new Lightroom Presets - Great Ocean Road photography trip

Lightroom preset, tutorials tips and tricks


Australia Travel Photography
Lightroom preset tips and tricks

Thursday, May 24, 2012

Beach entrance at night. Shot on a Nikon D3 and processed in Lightroom to enhance night lighting.

I decided to use this image as a test case for creating a cinematic night time look, in simple terms I have cooled the color palette down and added additional darker tones into the image. I have illuminated the pathway to make it appear like there is moon light and generally tinted the greens to appear stronger. Many of the other colors have been desaturated and then Lightroom 'split tones' have been used to reintroduce a much colder feel. Definitely an interesting experiment. CLICK HERE to learn more about Adobe Lightroom. To learn more about how I process images check out my Lightroom Tutorial and Lightroom Presets.

CLICK HERE to learn more about Adobe Lightroom. To learn more about how I process images check out my Lightroom Tutorial and Lightroom Presets.